This guide is for FreePBX 15. For FreePBX 14 and earlier, please click here.
In this article, we will walk through creating and downloading a FreePBX 15 backup to your computer. Additionally, we will be walking through how to restore this file back onto your FreePBX server. For information on how to create a scheduled backup please refer to [HOW TO] Create a Scheduled FreePBX 15 Backup Using FTP.
Here is an overview of the steps we will be taking:
- Designating a file storage location on your FreePBX 15 server
- Creating a backup job
- Running the backup
- Downloading the backup
- Uploading the file to your FreePBX 15 server
- Restoring the backup
Designating a File Storage Location
Here we will be designating a filestore, which is a location on your FreePBX 15 server where the backup will be stored for you to retrieve.
Log into your FreePBX server, select “Settings”, and go to “Filestore”

Select the “Local” tab and click “+Add Local Path”

Fill in a name for the path, a description, and the path to the backup folder. In this example, we are using the backup path “/var/spool/asterisk/backup”. When finished click “Submit” in the bottom right corner of the page.

Creating a Backup Job
In the top menu click “Admin” and select “Backup & Restore”

Select “+Add Backup”

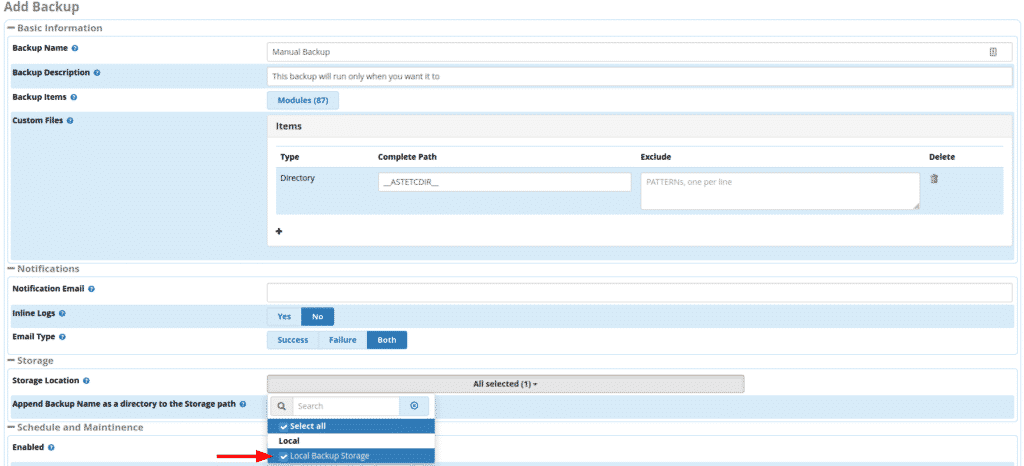
Under “Add Backup” Give the backup a name and a description.

Under “Storage” click the drop-down menu and select the file storage location you created earlier

Click “Submit” in the lower right corner of the page. Doing so will return you to the “Backup & Restore” page.
Running the backup
On the “Backup” tab of the “Backup & Restore” page click the “play” icon under the “Actions” heading.

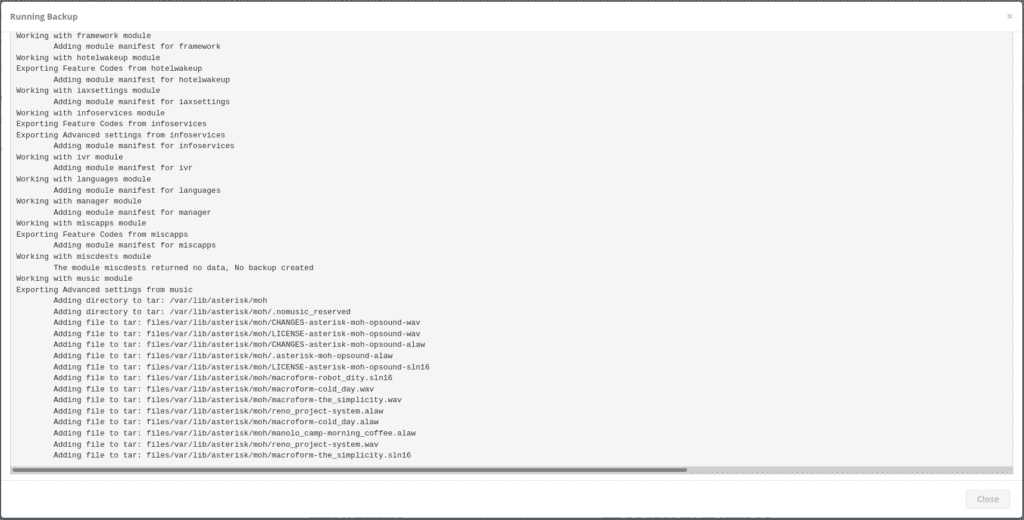
You will be presented with a scrolling log of the backup in real-time. Depending on the size and complexity of your PBX this may take some time.

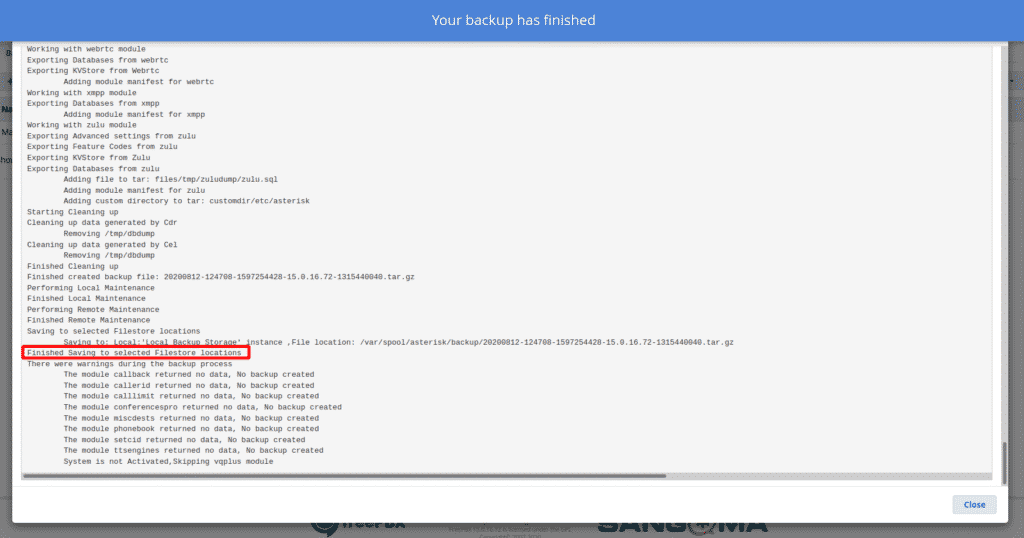
When your backup is complete, a blue banner stating “Your backup has finished” will briefly appear. If you happen to miss this banner look for a line stating “Finished saving to selected filestore locations” in the log.

Close the log display.
Downloading the Backup
On the “Backup & Restore” page select the “Restore” tab and click the “Download” icon in the “Actions” field of the “Restore from local cache” block.

Uploading the file to your FreePBX 15 server
Go to the “Admin” menu and select “Backup & Restore.”

Select the “Restore” tab, click “Click to upload a backup file”, and navigate to the backup file you want to restore.

Restoring the Backup
Please note the following: This step is for servers that are brand new or are not critical production servers. Restoring a backup on a production server may require additional steps for the server to be ready to use, and restoring an improperly configured backup could break the server. Proceed with caution.
Once the file has finished uploading read any warnings that may appear. If you still want to continue restoring the backup you selected, click “Run Restore”

As with the backup, you will be presented with a scrolling log of the restore process. When the restore is complete, you will see “Finished” in the log.

The system has now been restored from backup.
Conclusion
While this is a good way to keep a backup of your system for your own short-term storage purposes, we recommend that a semi-regular backup be performed and automatically stored in the cloud. For instructions on how to set up an FTP backup to this end check out the Setting up a scheduled FreePBX 15 FTP Backup page.


