In a previous article, we walked through setting up daily FreePBX backups that are stored on a remote FTP server [How To] FreePBX FTP Backup Tutorial (v14 and earlier). That is great for disaster recovery, but sometimes it’s helpful to be able to take a local backup of your PBX and download it to your computer, which is what we’ll walk through in this tutorial. If you are utilizing FreePBX 15, please turn your attention to this page [HOW TO] Create a Complete FreePBX 15 backup.
- Log into the FreePBX web interface by visiting the IP address of your PBX.
- Navigate to Admin -> Backup & Restore
- Click Backups and then New Backup
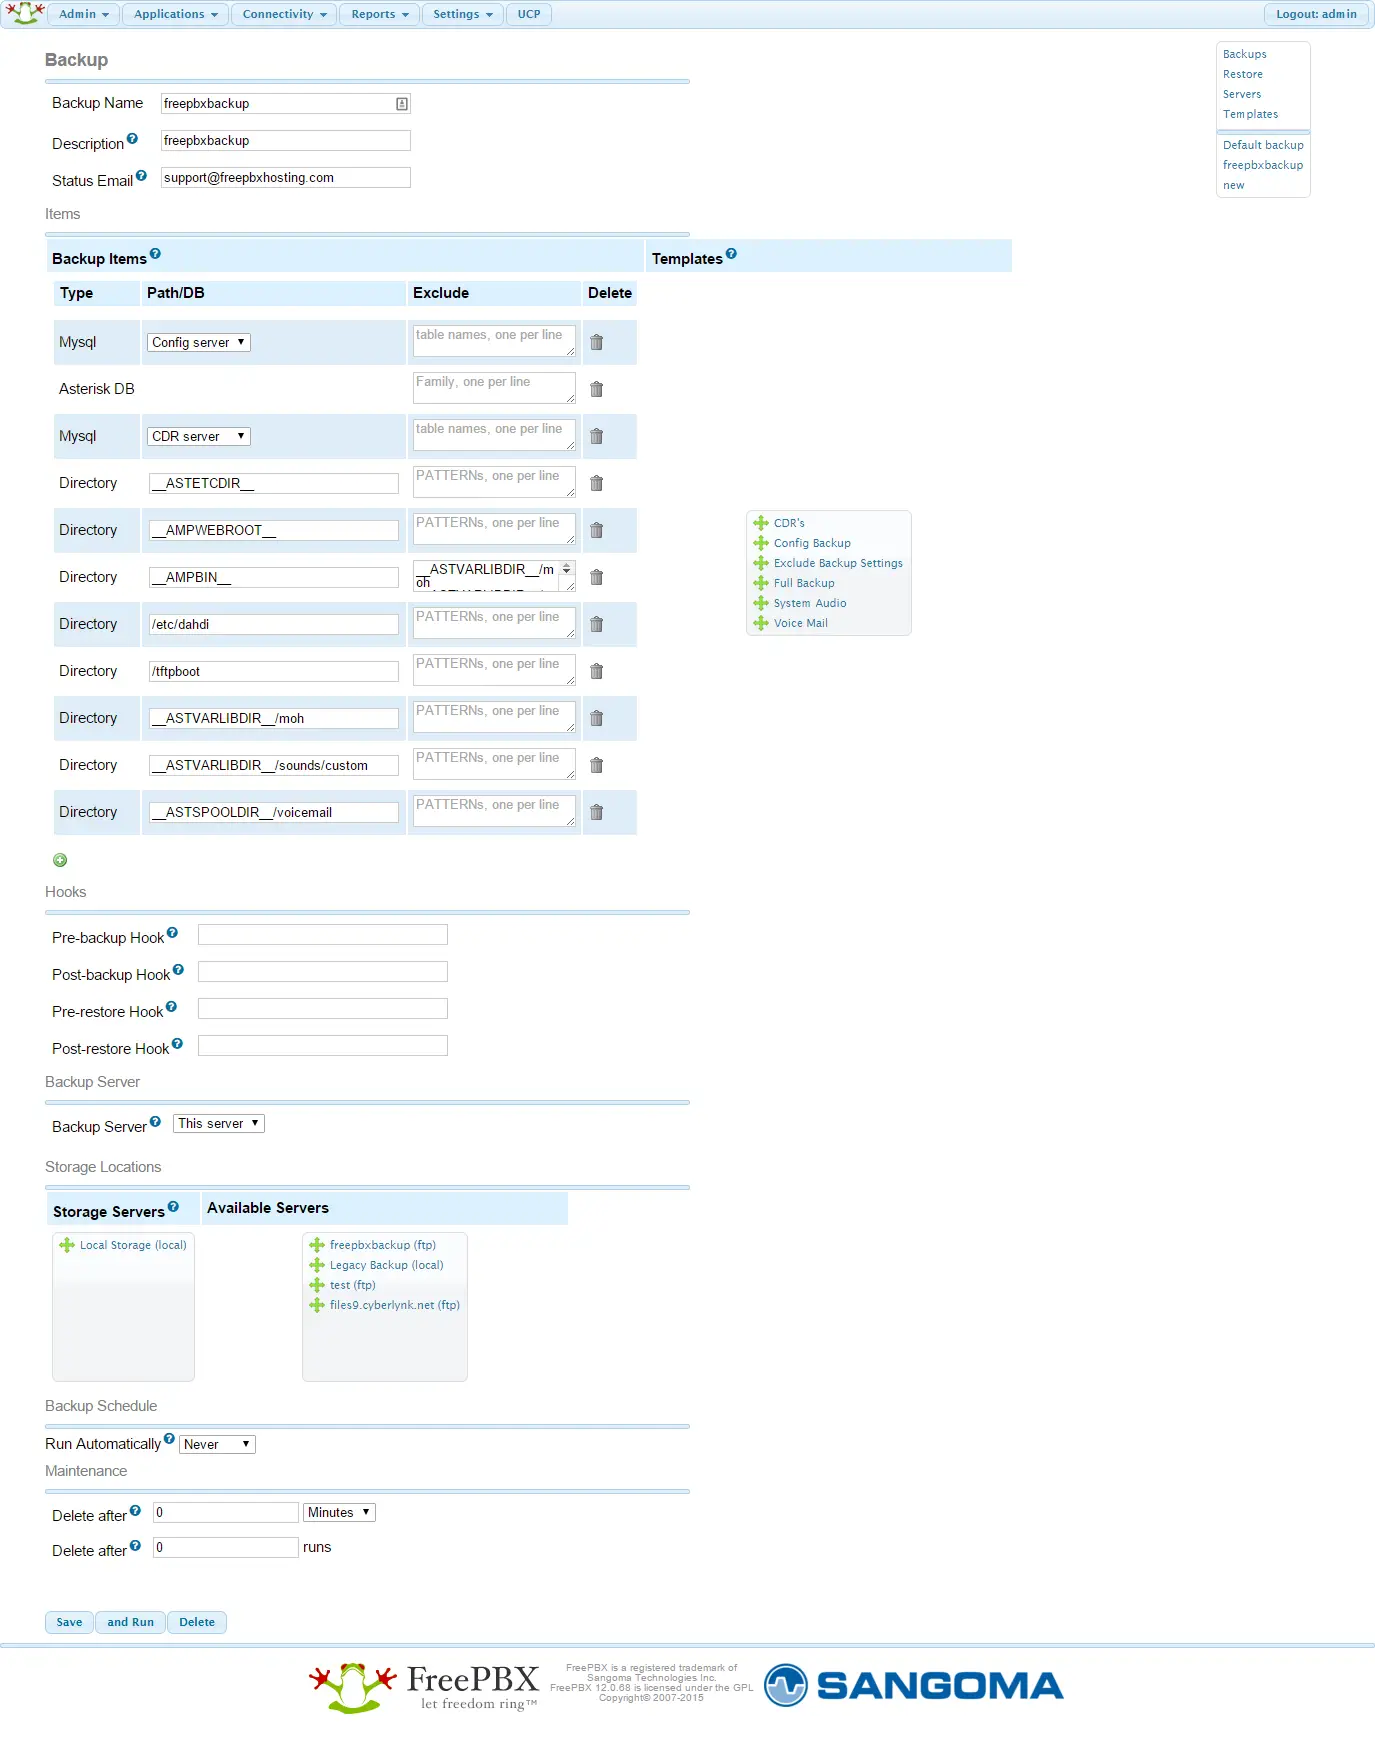
- Choose a name and description for the backup, and enter an email address that will be notified when the backup is run.
- To back up everything on your server, including voicemails, recordings, config files, etc, you will want to click and drag the following Templates over to the Backup Items section:
- Full Backup
- CDRs
- System Audio
- Voice Mail
Note that this will NOT include call recordings, which can make your backup quite large. However if you do need them included in your backup, you can click the “+” (plus) near the bottom of the “Items” list and add a Directory with the path “__ASTSPOOLDIR__/monitor” (without the quotes.)
- Under Storage Locations, drag “Local Storage (local)” to the Storage Servers column
- (Optional) If you would like to run the backup automatically on a regular basis, choose the frequency you would like the server backed up. If you are setting up automatic backups, it is strongly recommended that you set a “Delete after” time or quantity, otherwise old backups will never be removed and you may run out of disk space.
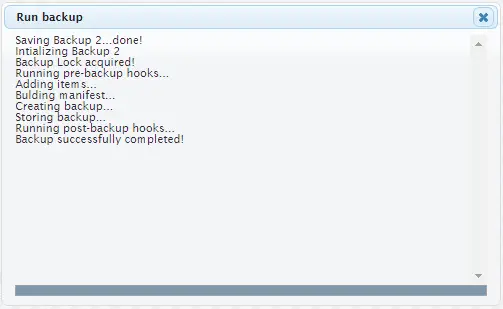
- Click Save. To run the backup now, scroll to the bottom again and click “and Run”
The backup will take some time to complete. When it is done, go ahead and close the status window:
At this point, we have a full backup of our FreePBX server. To download the backup to our local computer, we’re going to use a free piece of software called FileZilla, which can be downloaded here: https://filezilla-project.org/download.php?show_all=1
Once you have installed FileZilla, open it up and enter these three pieces of information:
- Host: sftp:// followed by the IP address for your PBX (for example, sftp://192.168.1.100)
- Username: root
- Password: The root password for your server. This was sent when you originally signed up in the Account Information email.

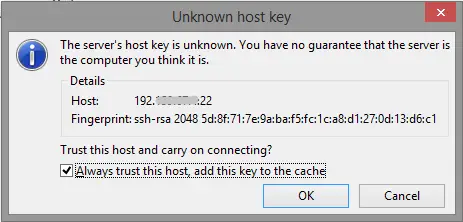
Click Quickconnect, and you will be connected to your FreePBX server. You may see a message like the one below – this is normal, so choose the ‘Always trust’ option and click OK:
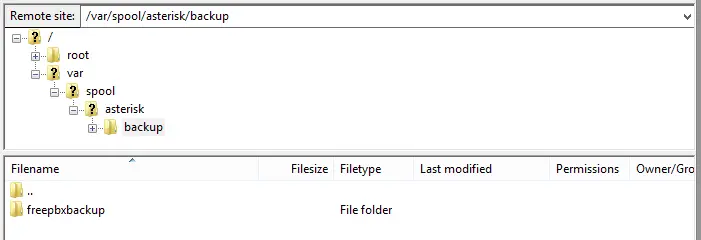
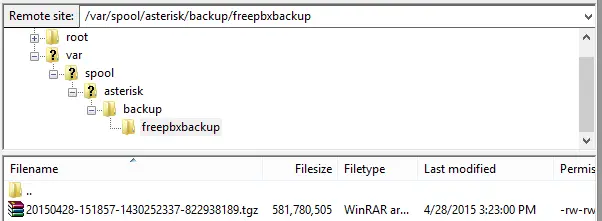
At this point, you have two listings of files. The left side of the screen contains the files on your local computer (Local site), and the right side of the screen contains the files on your PBX (Remote site). Next to “Remote site:”, type /var/spool/asterisk/backup and hit enter. This is where our backups are stored. You will see the name you chose for your backup listed – in our example, it’s freepbxbackup:
Double click on the name of your backup, and you will see a backup file with the current date under the ‘Last modified’ column:
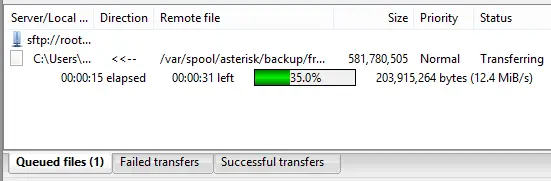
Click and drag that file to the desktop of your local computer, and you will see the download progress at the bottom of the FileZilla window:
Once the download is complete, you will have a full backup of your FreePBX server that can be restored on a FreePBX server with the same major release version. If you have any questions, feel free to open a support ticket or send an email to support@freepbxhosting.com.