When you log into your FreePBX 13 PBX for the first time you’ll be presented with the Getting Started Wizard as shown below:

Click the “Activate” button to register your PBX and receive the free license for System Admin Pro and Endpoint manager that are included with your FreePBXHosting.com account.
You will then be presented with a series of screens to create (or use an existing) account at the FreePBX.org portal. You will first need to enter your email address. If the email address already exists at the FreePBX.org portal you will be prompted to enter your password. If the email address does not exist you’ll be prompted for contact information to create your FreePBX.org portal account. If you are using an existing portal account you will then receive a screen to verify your contact information. Verify the information and click “Continue”.
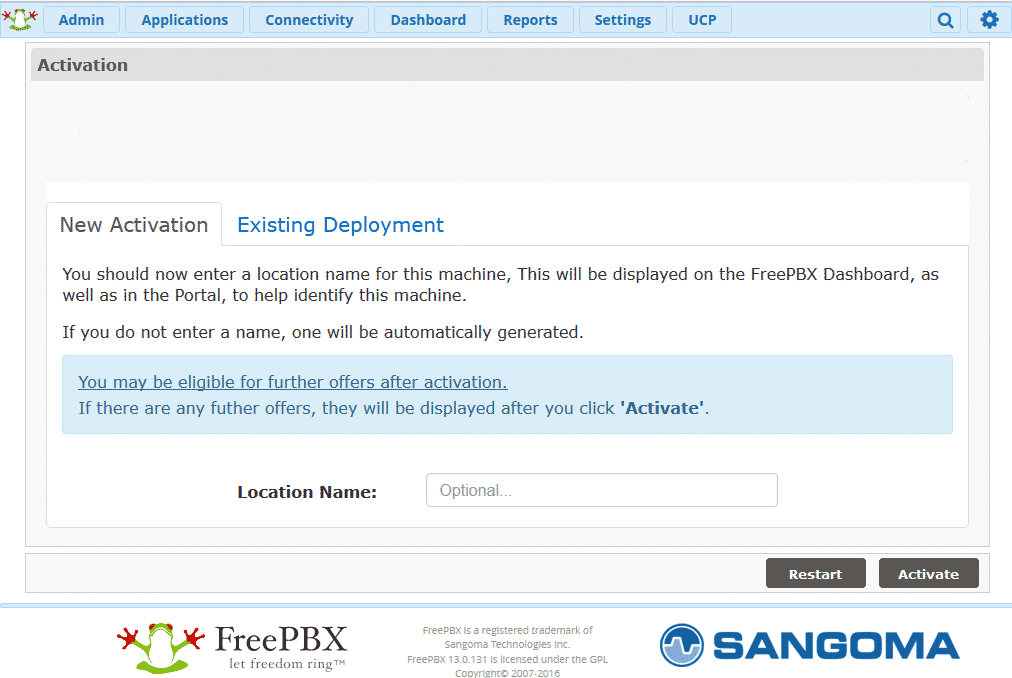
The next step is the Activation screen:

If this is a new PBX choose the “New Activation” tab and enter a name in the “Location Name:” field. This name is used to identify this PBX at the FreePBX.org portal. If you have an existing deployment ID (you are migrating a PBX or re-installing FreePBX) enter the deployment ID. Click the “Activate” button to continue.
The next screen lists any current specials FreePBX.org is running. Here is an example of the current specials screen (it may change over time):

Review the offers and then click the “Complete” button to continue.
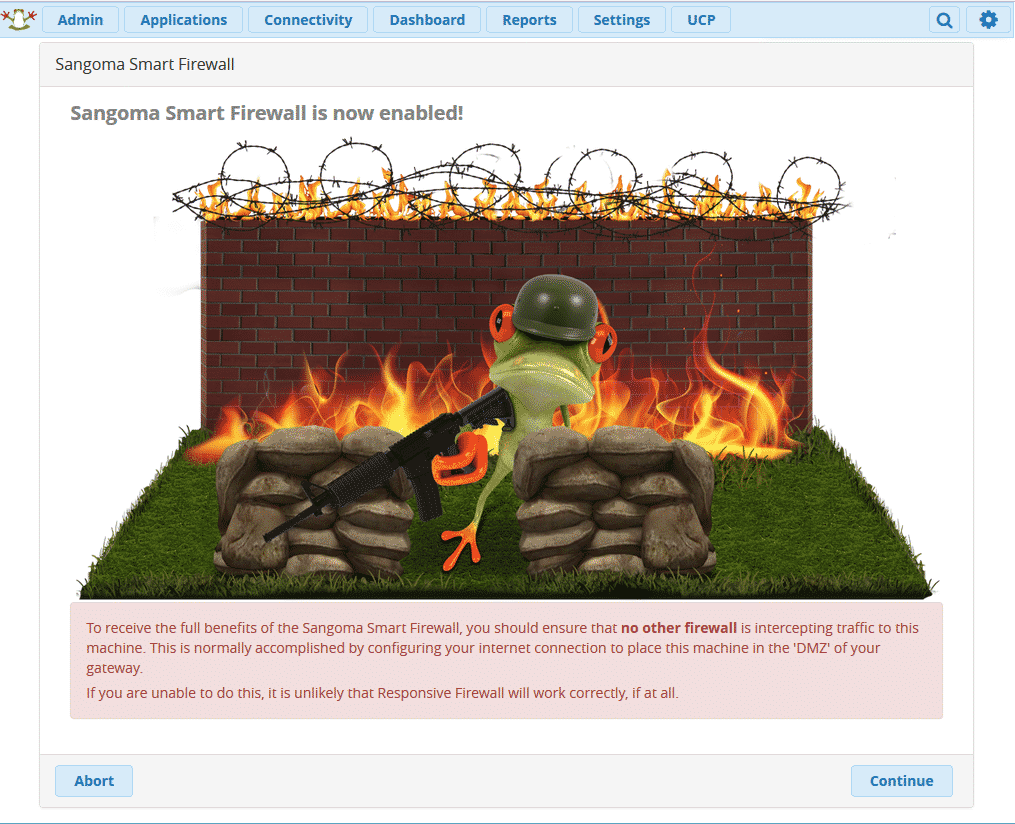
The next step activates the FreePBX Smart Firewall:

Click the “Continue” button.
The next screen gives a bit more detail about Firewall:

You can click the “Abort” button to not use the firewall or click “Next” to continue the firewall configuration. We recommend that you use the firewall and click the “Next” button.
The next screen will ask you if the IP that you are currently logged in from should be tried by the firewall:

We highly suggest that you click the “Yes” button to add your IP to the list of trusted IPs. If you do not do that you may not be able to access the PBX once the firewall is enabled.
The next screen will ask you if the current network should be added to the trusted network:

Since your PBX has a public IP address we highly suggest that you choose the “No”.
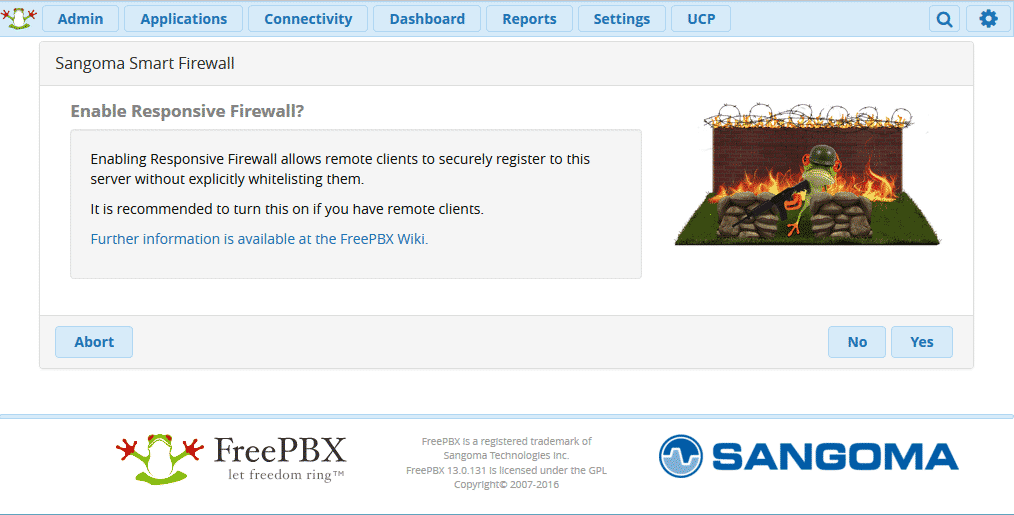
The next screen enables the responsive feature of the Firewall:

The responsive feature of the firewall will allow the firewall to dynamically allow access to the PBX from an IP address once a phone has connected from that IP address. We suggest that you choose “Yes”.
The next step configures Asterisk IP settings:

Click the “Yes” button to continue.
You have now completed the initial setup wizard of FreePBX. The next step is fine tune the firewall settings.


